Well Happy Holidays Everyone!!! Hope you all had a fantastic holiday season. My family and I spent the holidays in Melbourne. After waking at 2am Christmas morning to get on the first flight to Melbourne, we walked from our hotel to my uncles house to be treated to what was again a fantastic Christmas lunch. Complete with turkey, ham, veges, plum pudding and of course my favorite brandy cream.
After braving the boxing day sales the next day we were ready for another delicious dinner, after much discussion about the various restaurants we choose Reddy's on Elizabeth St who were having a buffet. We walked in and were hit with the smell of hot curries. We were served at the counter by friendly staff who handed us plastic plates to feel off, but do not judge by the crockery,this was some of the best Indian that I have been treated to... even coming close to my favorite and well loved Kuma's in Brisbane. There was an assortment of curries, including beef and chicken, dhal, vegetable curry, biryani, naan, chapati, and tandoori chicken.
Melbourne readers, this is a fantastic restaurant with fantastic food and staff and must not be ignored.
Reddys Kitchen
South & North Indian, Malaysian, Singaporean Cuisines
380 Elizabeth Street, Melbourne
(03) 9663 8242
Note: Halal Assured
Thursday, December 30, 2010
Monday, December 20, 2010
H4 Hospitality Cooking Lesson- Pasta
This is a little late, but on Tuesday the 14th Mum and myself went to our first ever cooking lesson. We went to H4 Hospitality at Wynnum. We arrived early and went for a walk along the pier and around the beautiful park. After a quick walk we headed over to the cooking school, plenty of parking was provided around the back. We walked in and was greeted by Bernadette who helped us get settled in and get us sorted with aprons. We next met Stephen who was busy setting up for the class.
The class was fantastic, we broke into small groups and worked on our pasta dough. After we have made the dough with help from Stephen. We were taught how to make the most amazing bruschetta I have ever eaten. We then began to roll out our pasta, this was a lot easier then I thought it would be and cant wait to give it a go at home and post some more pics!!! Stephen was so helpful and attentive, whilst giving us the space to learn.
To go with our fresh pasta Stephen made 2 sauces one tomato based with salami and another cream based sauce with chicken. Both dishes were amazing and I was really impressed to be able to see the difference in the fresh pasta not only in the flavor but also in the texture.
Stephen and Bernadette were fantastic hosts who provided not only an evening on fun learning new experiences, but were fantastic company over our freshly cooked meals and a glass of wine.
The cooking classes at H4 are a must do activity. Stephen is has experience not only as a chef, restaurant owner but also as a training provider for chefs around Brisbane. H4 run classes for adults and children using a variety of different skills and ingredients.
Details about H4 Hospitality can be found at their web site http://www.h4hospitality.com.au/
Vege Fritters

I have finally got around to putting up my much loved recipe for Vege Fritters. These are great for every meal, although in this house they have become a much loved favorite for breakfast with a little Parmesan, rockets, tomato relish and for a little treat some sour cream. You could put pretty much any mix of vegetables you have, I started using sweet potato and zucchini and have since tried adding things like squash and corn. This is a fairly simple recipe and is all about the feel.
For this you will need to set you oven to 180 degrees and line 2 trays with grease proof paper.
For this I used
1 Medium Sweet potato
2 Large Zucchini
2 small tins of corn
1 large button squash
1 large potato
1 egg
Self Raising Flour
Chili Powder
Grate all the vegetables and mix in as much or as little chili powder as desired and add the egg and about 2tbs of flour to get started. Mix using your hands adding more flour as needed. The mix will still be wet and stick but don't worry, you just want it to hold its form when made into a ball and flattened on the tray.

Once this is done place them on a tray depending how big you should get about 18 regular sized patties with this mix.
Bake in the oven for about 30-35mins.

Sunday, December 12, 2010
Quick Mix Chocolate Cupcakes
I will apologies now for today's entry, I was so caught up in the moment that I forgot to take photos. This recipe is so easy however that it wont matter if you plan to make these delicious cupcakes.
I had a reason for making these cupcakes, and that was a friends wine and cheese night, not cheese or wine I know but a much loved treat to enjoy at the end of the night. It was a great night and there was some other delicious homemade goodies as well. An amazing Black Forest Cheesecake, a cob loaf which was a favorite and loved by all, perhaps though not my waistline, and a real compliment to the cheese a apricot and red wine paste.
Well I shall get on with this very simple and quick recipe
For the Quick Mix Chocolate Cupcakes you will need:
185g of Butter, Softened
3/4 of a Cup of Caster sugar
3 Eggs
125ml of milk
1 Cup of Self-Raising Flour, Sifted
1/2 a cup of Plain Flour, Sifted
1/3 of a cup of Cocoa Powder, Sifted
Preheat the oven to 180 degrees and line muffin trays, these can either be the larger muffins or the mini ones, either will work. I did however prefer the mini ones. This recipe makes 15 larger muffins and will make a lot of mini ones, I ended up with 8 large muffins and 38 mini muffins.

Beat all ingredients in a bowl on low speed until combined. Increase speed to medium and beat until mixture is fluffy and has lightened in colour.
 Place mixture into muffin cases about half way up and bake;
18-20 mins for larger muffins
10-12 mins for mini muffins
Allow muffins to cool in tray for 5 mins and tip out onto cooling rack.
I choose to top these delicious muffins with whipped chocolate ganache. I did start piping the ganache onto the muffins however the head and humidity got the better of them and the swirls fell. I ended up smoothing it over with the back of a spoon and topping with tiny white sprinkles, cachous, and malteasers.
To make the Whipped Ganache you will need;
230ml of Pouring Cream
375g of Chocolate Melts
Bring Cream to the boil and remove from the heat. Add the melts and stir until melted completely and smooth. Place in fridge and set, stiring occasionally until thickened like soft cream cheese. Once it reaches this consistency beat with mixer on medium speed until light and fluffy. Photos for the ganache can be found in the Birthday entry.
Spread or pipe onto cupcakes, and enjoy!

I had a reason for making these cupcakes, and that was a friends wine and cheese night, not cheese or wine I know but a much loved treat to enjoy at the end of the night. It was a great night and there was some other delicious homemade goodies as well. An amazing Black Forest Cheesecake, a cob loaf which was a favorite and loved by all, perhaps though not my waistline, and a real compliment to the cheese a apricot and red wine paste.
Well I shall get on with this very simple and quick recipe
For the Quick Mix Chocolate Cupcakes you will need:
185g of Butter, Softened
3/4 of a Cup of Caster sugar
3 Eggs
125ml of milk
1 Cup of Self-Raising Flour, Sifted
1/2 a cup of Plain Flour, Sifted
1/3 of a cup of Cocoa Powder, Sifted
Preheat the oven to 180 degrees and line muffin trays, these can either be the larger muffins or the mini ones, either will work. I did however prefer the mini ones. This recipe makes 15 larger muffins and will make a lot of mini ones, I ended up with 8 large muffins and 38 mini muffins.


18-20 mins for larger muffins
10-12 mins for mini muffins
Allow muffins to cool in tray for 5 mins and tip out onto cooling rack.
I choose to top these delicious muffins with whipped chocolate ganache. I did start piping the ganache onto the muffins however the head and humidity got the better of them and the swirls fell. I ended up smoothing it over with the back of a spoon and topping with tiny white sprinkles, cachous, and malteasers.
To make the Whipped Ganache you will need;
230ml of Pouring Cream
375g of Chocolate Melts
Bring Cream to the boil and remove from the heat. Add the melts and stir until melted completely and smooth. Place in fridge and set, stiring occasionally until thickened like soft cream cheese. Once it reaches this consistency beat with mixer on medium speed until light and fluffy. Photos for the ganache can be found in the Birthday entry.
Spread or pipe onto cupcakes, and enjoy!

Thursday, December 9, 2010
Cute Cupcakes
So I got a new recipe book last weekend and have been dying to give something out of it a go! It is the new Women's Weekly Classic Cupcakes book, and Wow! I do not even know where to begin, but I had to start somewhere and thought I would start with a simple vanilla butter cake, topped with my first attempt at butter cream icing. It was a lot easier then I had thought it would be and very, very yummy. Lucky it made more then I needed. The butter cream icing was not the only new thing to me today but so was piping the icing onto the delicious little cakes. I have never used a piping bag, I always saw myself as more of a spatula kinda gal.
So we shall begin with the Vanilla Butter Cakes
90g of Butter, Softened
1 tsp of Vanilla Extract
1/2 a Cup of Caster Sugar
2 Eggs
1 Cup of Self-raising Flour
2 tbs of Milk
 Start my Preheating your oven to 180 Fan Forced, and line 8 holes of a muffin pan.
Next Beat the butter, vanilla extract, sugar, eggs, sifted flour and milk in a bowl with an electric mixer on low speed until all the ingredients are combined.


So we shall begin with the Vanilla Butter Cakes
90g of Butter, Softened
1 tsp of Vanilla Extract
1/2 a Cup of Caster Sugar
2 Eggs
1 Cup of Self-raising Flour
2 tbs of Milk

Next Beat the butter, vanilla extract, sugar, eggs, sifted flour and milk in a bowl with an electric mixer on low speed until all the ingredients are combined.

Increase speed to medium and beat until mixture has changed to a paler colour.

Next fill each patty pan with 1/4 of a cup of mixture and bake for 20 mins.

Stand in pan for 5 mins before turning out to cool.

Once the muffins have cooled you can get started on the Butter Cream Icing. For that you will need:
185g of Softened Butter
2 1/4 Cups of Icing Sugar, Sifted
1/4 a Cup of Milk
Pink Food Colouring
Beat the butter alone until as white as possible.
 |
| It looks a lot yellower in the photos |
Beat in sifted icing sugar and milk in two batches. Once combined add in the pink food colouring until it reached the desired colour.

And this is where I left my comfort zone...
Place the icing into the icing bag and pipe a large swirl onto each cake. I also added a few cachous beads.

Overall I think this was a fairly good effort with the piping. I cant wait to try my hand at it again!
Sunday, December 5, 2010
Happy Birthday! Just another excuse to bake
Well today is my birthday and to celebrate i made my own cake, really just an excuse to get in the kitchen and try out a new recipe. Both of these recipes come from Donna Hay's Simple Essentials Chocolate.
I had wanted to make something out of this book for a while now and thought well there is no time like the present.
So on with the baking....
For this basic chocolate cake you will need:
375g of Softened Butter
11/2 Cups of Brown Sugar
3 Eggs
2 Cups of Plain Flours, Sifted
2tsp of Baking Powders
2/3 Cups of Cocoa, Sifted twice
3/4 Cups of Milk

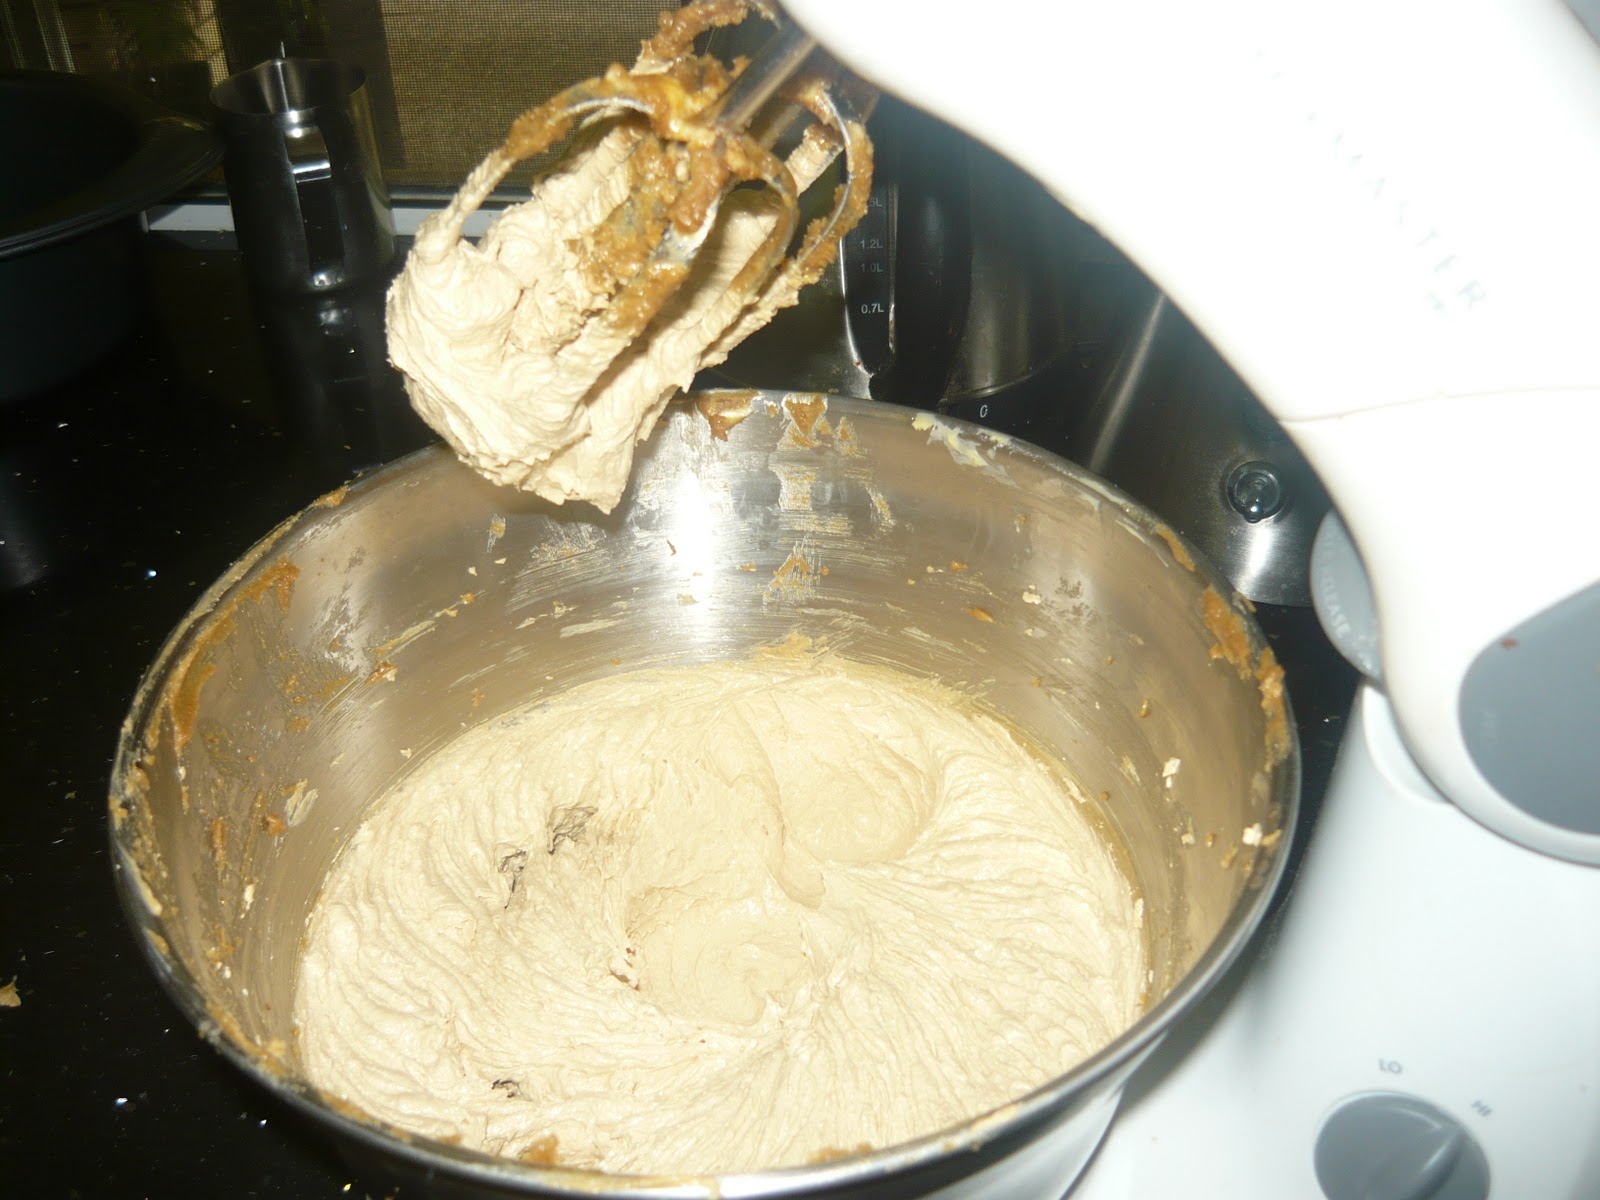
Preheat your oven to 160 C, Place butter and sugar in a bowl and mix using an electric mixer for 8 to 10 minutes. Or until light and fluffy.
 Gradually add the eggs and beat well.
 Fold through the Flour, Cocoa and Baking Powder.
 Pour into a lined 22cm round tin and bake for 1 hour. You can use a skewer to test when it is ready.

At this point I had to stop myself picking at it to see how it tasted!!!
Next ill show you how to make the Chocolate Ganache, I have to say I didn't take many photos of this stage as I had no idea what I was really doing.
For the Chocolate you will need:
375ml of Single Cream
340g of Nestle Dark Chocolate Melts, Chopped

Bring Cream to the boil in a large pot, once boiling remove from the stove and stir in chocolate until melted and smooth.
 Allow to cool and spread on cake or between layers of cake.
 I really couldnt stopped there, and topped it off with Malteasers and cachous beads.

I had wanted to make something out of this book for a while now and thought well there is no time like the present.
So on with the baking....
For this basic chocolate cake you will need:
375g of Softened Butter
11/2 Cups of Brown Sugar
3 Eggs
2 Cups of Plain Flours, Sifted
2tsp of Baking Powders
2/3 Cups of Cocoa, Sifted twice
3/4 Cups of Milk

Preheat your oven to 160 C, Place butter and sugar in a bowl and mix using an electric mixer for 8 to 10 minutes. Or until light and fluffy.


At this point I had to stop myself picking at it to see how it tasted!!!
Next ill show you how to make the Chocolate Ganache, I have to say I didn't take many photos of this stage as I had no idea what I was really doing.
For the Chocolate you will need:
375ml of Single Cream
340g of Nestle Dark Chocolate Melts, Chopped

Bring Cream to the boil in a large pot, once boiling remove from the stove and stir in chocolate until melted and smooth.


Not as hard as I thought it was going to be, and the best bit absolutely delicious!
Wednesday, December 1, 2010
Cherry Tomato Chutney
I had started looking for a recipe early on in tomato season when dads veges patch had gone wild with tomatoes so much so that we had started giving away literally hundreds of tomatoes away to friends. Having found this recipe I am sorry that I had not found it sooner and think of the supply of this delicious chutney we could have built up.
Having made this chutney once before last week and not taken any photos I have made it again today to share. Let me assure you though, that this was the first time I had made chutney or anything remotely similar and not only was it easy it was a complete success and has been demolished by the family in a week!
It has been raining all day and after looking after my cute little cousin this morning I set about chopping up the tomatoes to make another batch of this much loved chutney. Tomorrow I will have to make more sweet potato and zucchini fritters as I am sure that will be the next thing that is requested to accompany this fresh batch.
This will make 3.5 cups of chutney
You will need:
380g Caster Sugar
750mls Cider Vinegar
2tbs Fresh Ginger- Minced
3tbs Balsamic Vinegar
2.5 tsp Salt
1.5tsp Caraway Seeds
.5tsp Dried Chili Flakes
1.3kg Cherry Tomatoes- Chopped into Quarters
3 Onions- Finely Chopped
Grab a nice big saucepan, all the ingredients are going to end up in the one pot to make sure you can fit all the tomatoes in.
I'm using a gas stove so you will need to adjust the timing if you are using something else.

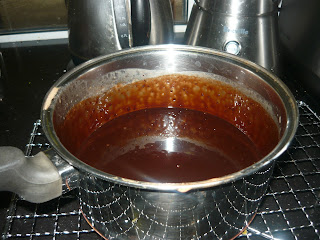
In your large saucepan combine the sugar, vinegar, ginger, salt, caraway seeds, chili and balsamic vinegar and bring to the boil until the sugar is dissolved.

Add the tomatoes and onions and simmer for about 1.5 hours or until thickened.

This will keep in an airtight container in the fridge for 3 weeks, or if you would like to give it as gifts pop the chutney in some sterilized jars.
 Absolutely delish with Chicken, Beef, Veges and of course the much loved Sweet potato and Zucchini fritters!
Having made this chutney once before last week and not taken any photos I have made it again today to share. Let me assure you though, that this was the first time I had made chutney or anything remotely similar and not only was it easy it was a complete success and has been demolished by the family in a week!
It has been raining all day and after looking after my cute little cousin this morning I set about chopping up the tomatoes to make another batch of this much loved chutney. Tomorrow I will have to make more sweet potato and zucchini fritters as I am sure that will be the next thing that is requested to accompany this fresh batch.
This will make 3.5 cups of chutney
You will need:
380g Caster Sugar
750mls Cider Vinegar
2tbs Fresh Ginger- Minced
3tbs Balsamic Vinegar
2.5 tsp Salt
1.5tsp Caraway Seeds
.5tsp Dried Chili Flakes
1.3kg Cherry Tomatoes- Chopped into Quarters
3 Onions- Finely Chopped
Grab a nice big saucepan, all the ingredients are going to end up in the one pot to make sure you can fit all the tomatoes in.
I'm using a gas stove so you will need to adjust the timing if you are using something else.

In your large saucepan combine the sugar, vinegar, ginger, salt, caraway seeds, chili and balsamic vinegar and bring to the boil until the sugar is dissolved.

Add the tomatoes and onions and simmer for about 1.5 hours or until thickened.

This will keep in an airtight container in the fridge for 3 weeks, or if you would like to give it as gifts pop the chutney in some sterilized jars.

Subscribe to:
Posts (Atom)